
Table of Contents
- Introduction
- Benefits of DIY Cardboard Baskets
- Materials Needed
- Step-by-Step Instructions
- Creative Variations
- Practical Uses for Cardboard Baskets
- Conclusion
- Faq's
Introduction
Turning cardboard boxes into functional and decorative baskets is a creative and sustainable DIY project that has gained popularity for its simplicity and environmental benefits. This project is an excellent way to repurpose materials that would otherwise contribute to waste, allowing you to create something both practical and aesthetically pleasing. Whether you're looking to organize your space, add a personal touch to your home decor, or simply engage in a fun craft, making baskets from cardboard boxes is an ideal solution.
Benefits of DIY Cardboard Baskets
Eco-Friendly: Repurposing cardboard boxes reduces waste and promotes sustainability.
Cost-Effective: Utilizing materials you already have at home minimizes the need to buy new items, making this a budget-friendly project.
Customizable: You can tailor the size, shape, and design of the baskets to fit your specific needs and style preferences.
Functional: The baskets can be used to organize various items around the house, from toys and clothes to books and kitchen supplies.
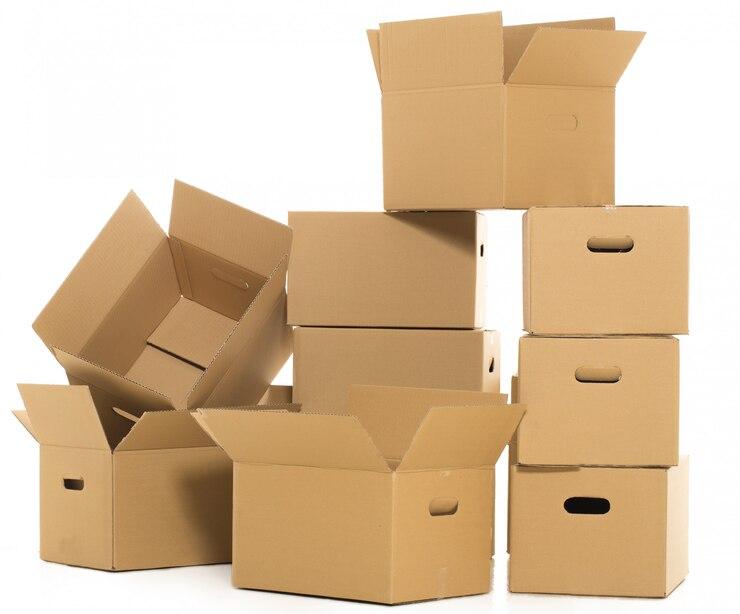
Creative Outlet: This project offers a chance to engage in a creative process, experimenting with different designs, colors, and decorations. Cardboard Basket
Materials Needed
To get started, you'll need the following materials:
Cardboard Boxes: Preferably corrugated for added strength.
Scissors or Craft Knife: For cutting the cardboard into the desired shapes.
Ruler and Pencil: For measuring and marking the cardboard.
Hot Glue Gun and Glue Sticks: To assemble the basket and ensure a sturdy construction.
Fabric, Decorative Paper, or Paint: Optional, for adding a decorative touch to your basket.
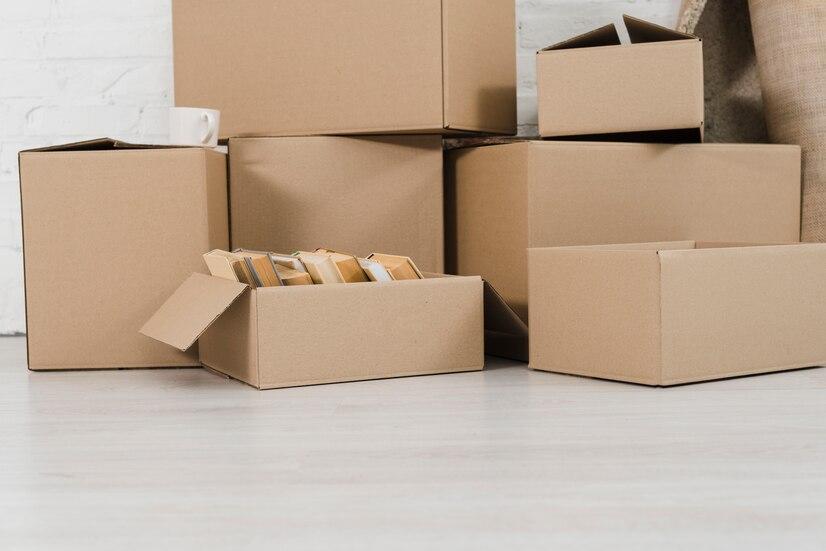
Stapler or Strong Tape: For additional reinforcement if needed. Cardboard Boxes
Step-by-Step Instructions
Prepare the Cardboard
Begin by flattening your cardboard boxes to make them easier to work with.
Decide on the dimensions for your basket, keeping in mind the items you plan to store in it. Use a ruler and pencil to measure and mark the pieces you'll need, typically a base and four sides.
Cut and Shape the Pieces
Carefully cut out the marked pieces using scissors or a craft knife. Ensure that the edges are straight for a neat finish.
If your design includes handles, cut out two strips of cardboard that will serve as the basket's handles.
Assemble the Basket
Start by attaching the sides to the base using a hot glue gun. Apply glue along the edges of the base and press the side pieces into place. Hold them until the glue sets.
For extra durability, reinforce the joints with additional glue or tape.
Add Handles (Optional)
Attach the handles to the basket using glue or staples. Ensure they are securely fastened, especially if you plan to use the basket for heavier items.
Decorate Your Basket
Once the basket is assembled, you can decorate it to match your home decor. Consider painting the exterior, covering it with decorative paper, or lining the interior with fabric.
For a fabric lining, cut the fabric to fit the inside of the basket and glue or staple it in place.
Finishing Touches
Allow all glue, paint, or fabric to dry completely before using the basket. Inspect the basket for any weak spots and reinforce them if necessary.
Creative Variations
Shape and Size: Experiment with different shapes such as oval, round, or hexagonal baskets. Adjust the size to suit different storage needs, from small organizers for drawers to larger baskets for blankets.
Personalization: Add personal touches like stencils, stamps, or initials to make each basket unique. This can be especially fun if you're making baskets as gifts.
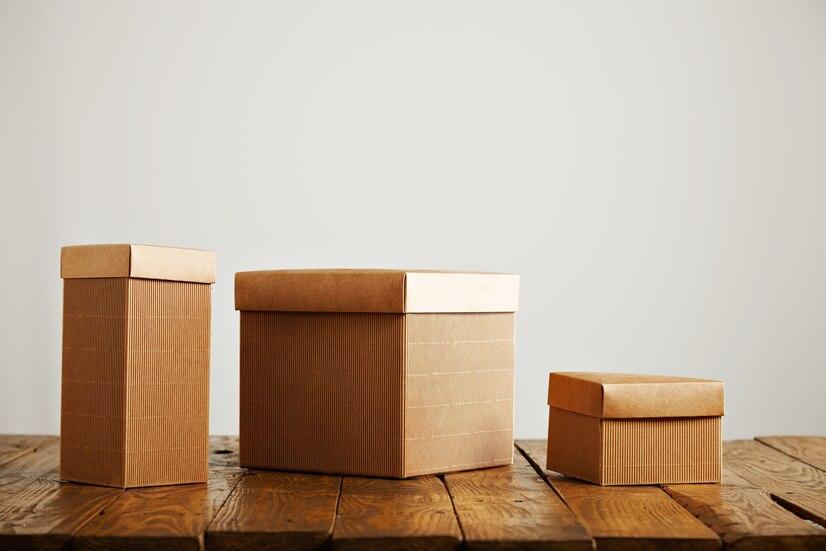
Themed Baskets: Create baskets themed around holidays, seasons, or specific rooms in your home. For example, use festive colors and patterns for holiday baskets, or match the decor of your living room or bedroom. Cardboard Variations
Practical Uses for Cardboard Baskets
Home Organization: Use your DIY baskets to store toys, books, magazines, kitchen utensils, or toiletries.
Gifts and Gift Baskets: Customize a basket to create a thoughtful and personalized gift container for special occasions.
Planters: Line a cardboard basket with plastic or a waterproof material, and use it as a decorative planter for indoor plants.
Desk Organizers: Create smaller baskets to organize office supplies like pens, paperclips, and sticky notes on your desk.
Conclusion
Making baskets from cardboard boxes is a simple yet impactful DIY project that combines creativity with environmental consciousness. By transforming discarded cardboard into functional and decorative baskets, you contribute to reducing waste while also enhancing your living space with customized storage solutions. This project not only provides a sense of accomplishment but also offers a fun way to express your personal style. So, gather your materials, let your creativity flow, and enjoy the process of crafting your very own cardboard baskets.
explore further
Latest from DIY hacks
More from Interactions
Resources
Dwello, for every home buyer, is a way to go from 'I feel' to 'I know', at no extra cost.


