

Table of Contents
- Introduction
- Step-by-Step Process of Using a Dumpy Level
- Conclusion
- Faq's
Introduction
Dumpy levels are indispensable tools in surveying and construction, serving to measure elevations, establish level lines, and ensure project accuracy. Also known as automatic levels or builder's levels, they are vital for determining land surface elevations. Although these instruments may seem daunting initially, they become straightforward with proper setup and understanding of measurement types.
Step-by-Step Process of Using a Dumpy Level
Setting up Your Level
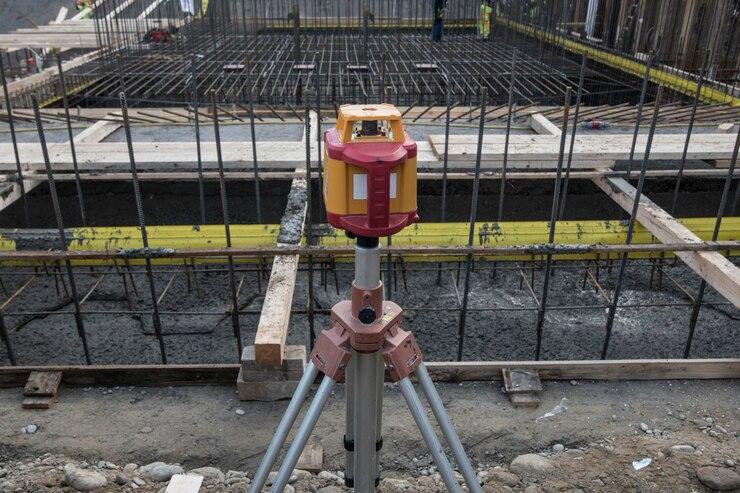
To begin, locate a nearby benchmark location with a known height from previous surveys. This benchmark will serve as a reference point for your measurements. Set up your tripod on flat ground between the benchmark and the target area, ensuring stability and leveling. Attach your dumpy level securely to the tripod and align it with two leveling screws. Level the device by adjusting the leveling screws until the bubble level is centered. Rotate the telescope 90 degrees and adjust the third leveling screw to center the bubble level. Check calibration by turning the telescope 180 degrees and ensuring the bubble remains centered.
Focusing Your Level
Once the dumpy level is set up and leveled, it's time to focus the telescope for accurate measurements. Remove the lens cap to expose the lens for focusing. Adjust the eyepiece until you can clearly see the device's crosshairs. Twist the focusing knob until the image through the telescope is sharp and clear. Proper focusing ensures that you can accurately sight your target and obtain precise measurements.
Taking a Measurement
With the dumpy level set up and focused, you're ready to take measurements. Position an E staff on the benchmark spot and record the measurement indicated by the device's crosshair. Move the E staff to the target spot, find the height difference, and record the measurement. Calculate the spot's actual height by subtracting the foresight measurement from the dumpy level's actual height. Repeat this process for additional measurement points as needed. surveying instrument
Conclusion
Mastering the use of a dumpy level is essential for accurate surveying and construction work. By following the step-by-step process outlined above, you can effectively utilize this tool to obtain precise measurements and ensure project precision. With practice and experience, using a dumpy level will become second nature, allowing you to tackle surveying and construction tasks with confidence.
explore further
Latest from Contemporary ideas
More from Innovations
Resources
Dwello, for every home buyer, is a way to go from 'I feel' to 'I know', at no extra cost.


